10 Best Tips for Using SketchUp to Render Stunning Visuals
In the realm of architectural design and 3D modeling,
SketchUp has established itself as a powerful tool for both
professionals and enthusiasts alike. Its intuitive interface and robust features make it a preferred choice for rendering
stunning visuals that captivate clients and audiences. As we look toward
2025, it is essential to master techniques that can elevate your workflow
and enhance the quality of your outputs. This article delves into the
"10 Best Tips for Using SketchUp to Render Stunning Visuals," providing insight into
essential practices that can make your models come alive.
Using SketchUp to render compelling visuals requires a combination of creativity,
technical know-how, and an understanding of the software's capabilities. From
optimizing your model for rendering to leveraging the right plugins and lighting techniques, each tip is designed to
enhance your proficiency. Whether you're a seasoned designer or a newcomer to the platform,
these best practices will help you produce
visually striking presentations that stand out in a competitive landscape.
Join us as we explore the top strategies to maximize your use of SketchUp and create
breathtaking visual representations of your designs.
Maximizing the Use of Layers for Enhanced Organization in SketchUp
When using SketchUp for your design projects, maximizing the use of layers can significantly enhance your organizational efficiency. Layers allow you to manage different elements of your model separately, which can be particularly beneficial when working on complex designs. By assigning different groups or components to specific layers, you can easily isolate or hide elements as needed. For instance, if your project includes both structural and decorative elements, keeping them on separate layers will enable you to focus on one aspect at a time without distractions.
Additionally, leveraging layers helps maintain a clean working environment. By categorizing elements into logical layers—such as furniture, landscape, and lighting—you reduce the clutter that can overwhelm your workspace. This organization not only simplifies the modeling process but also aids in the rendering stage, allowing for a smoother workflow as you visualize different design aspects. Furthermore, you can apply layer-specific properties, such as visibility and color, which can provide clarity during presentations or collaboration with clients and team members. With effective use of layers, your SketchUp projects will not only be visually stunning but also well-structured and easily manageable.
Leveraging Component Libraries to Boost Efficiency and Creativity
Leveraging component libraries in SketchUp can significantly enhance both your workflow efficiency and creative output. By utilizing pre-made components, you can save time on modeling repetitive elements, allowing you to focus on the more intricate aspects of your design. For instance, incorporating furniture, trees, and other objects from the extensive libraries available can instantly enrich your 3D model without the need for extensive detailing.
A key tip for maximizing these libraries is to spend time curating a personal collection of your most-used components. This practice not only speeds up your design process but also ensures cohesion throughout your projects. By organizing components by categories, you can quickly pull up items relevant to your current project, making the design process more fluid and enjoyable.
Additionally, customizing these components can further boost your creativity. Start with a basic element from the library, then modify its scale, texture, or color to better fit your vision. This way, you can maintain a unique aesthetic in your work while still benefitting from the time-saving aspect of using libraries. Embracing the versatility of component libraries will undoubtedly elevate your SketchUp experience and help you create stunning visuals.
Usage of SketchUp Component Libraries for Efficiency and Creativity
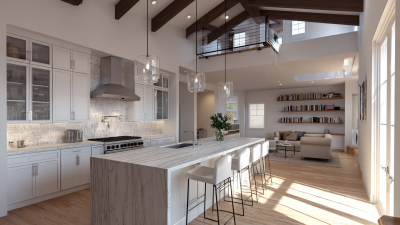
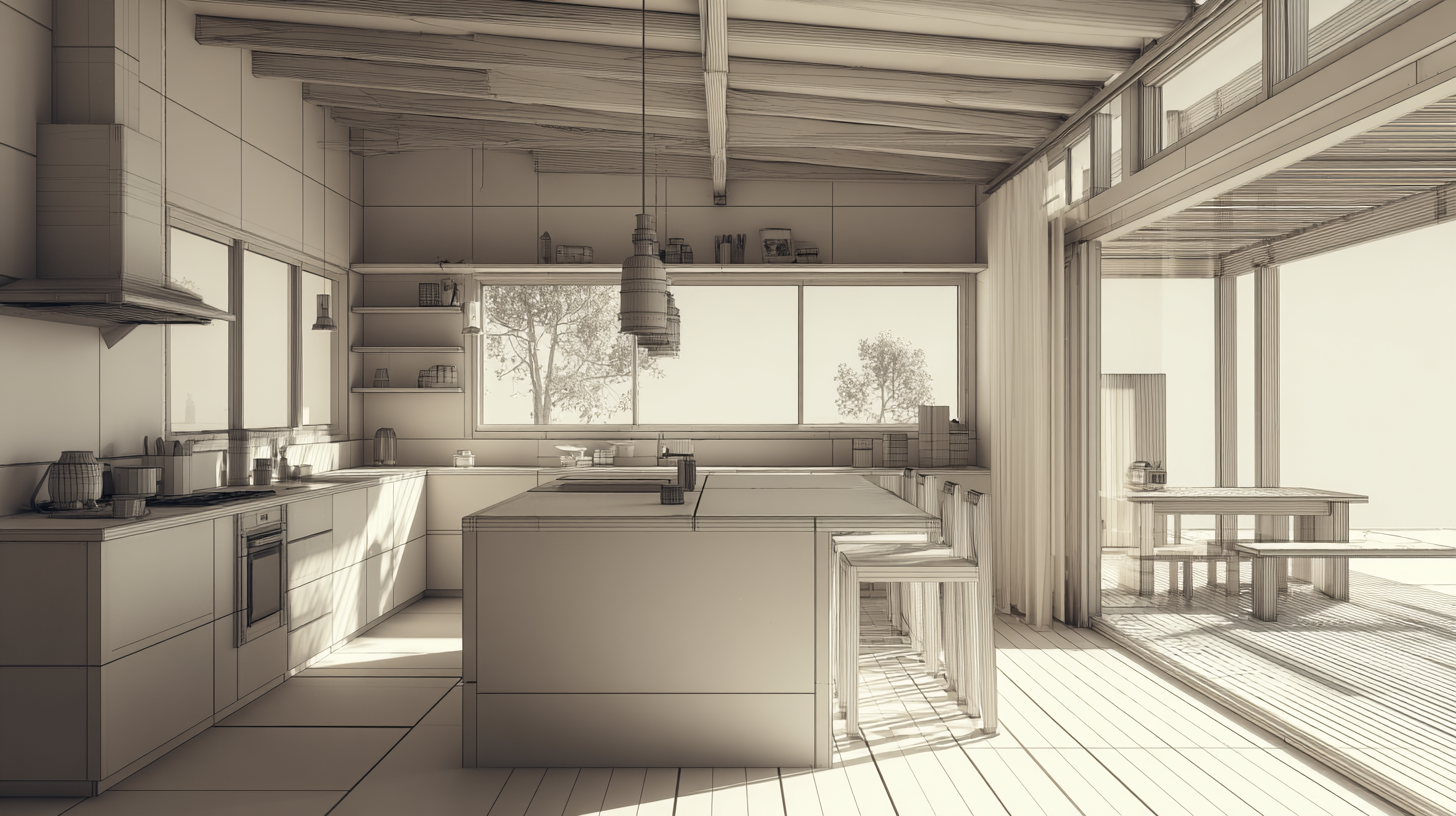
Mastering Textures and Materials for Realistic Visual Effects
Texturing and materials play a vital role in achieving realistic visual effects in SketchUp. One essential tip is to start with high-resolution textures. Utilizing high-quality images ensures that details are preserved when applied to 3D models, which significantly enhances the overall realism of your visuals. Additionally, consider scaling your textures appropriately to ensure they fit natural proportions, whether you're rendering a brick wall or a wooden floor.
Another important aspect is to experiment with different material properties. For instance, adjusting the glossiness and transparency can dramatically change how light interacts with a surface, creating depth and definition. Use the “Paint Bucket” tool to apply materials and remember to play with the editing options to fine-tune attributes like reflectivity and texture mapping, which can help achieve an authentic look.
Finally, don't overlook the importance of lighting effects on textures. Since lighting can greatly influence perception, integrating ambient light, shadows, and highlights will help enhance the texture's visual appeal. This can be done by utilizing SketchUp’s built-in shadows feature, which allows for realistic interaction between textures and light sources in your scene.
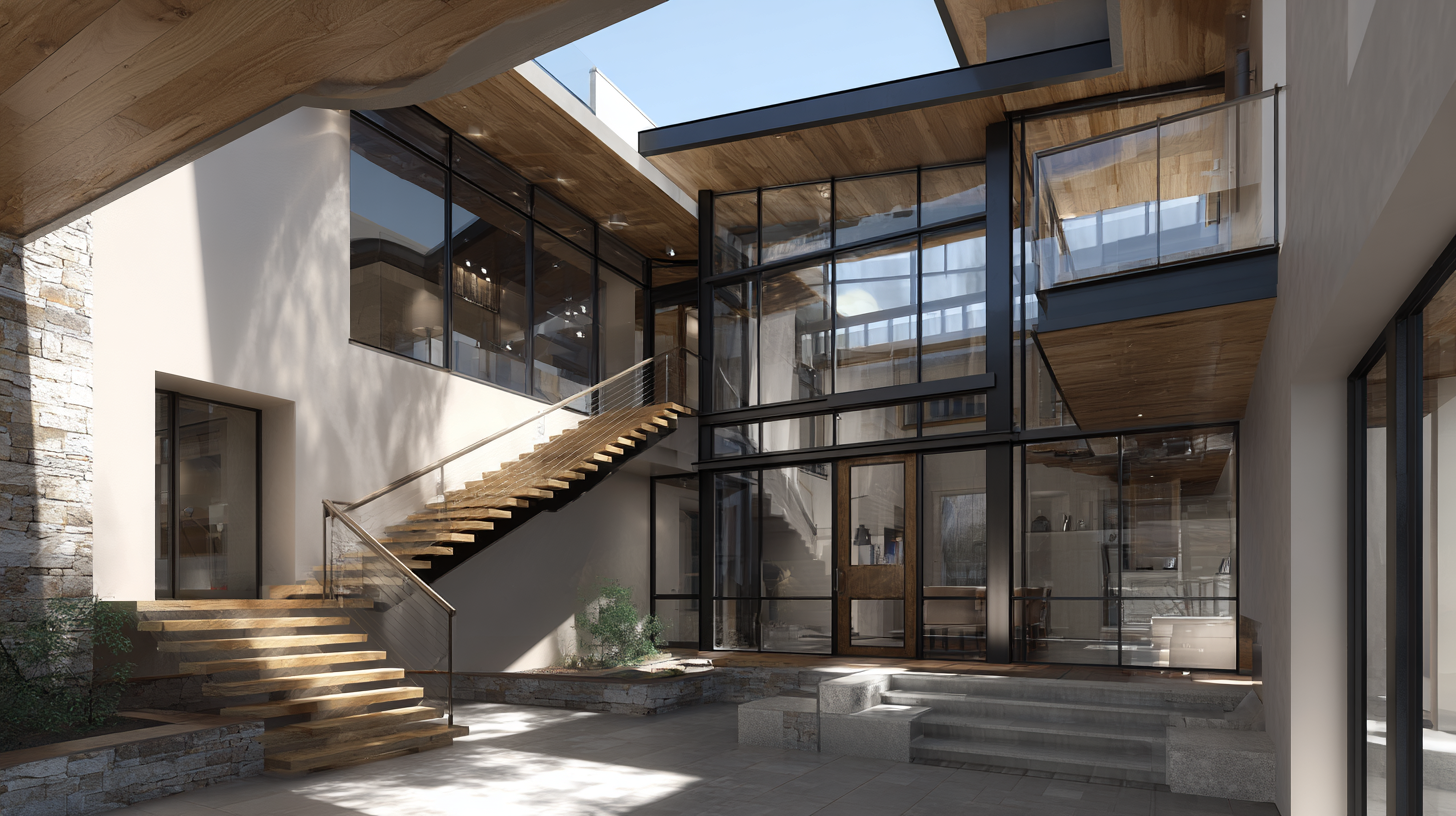
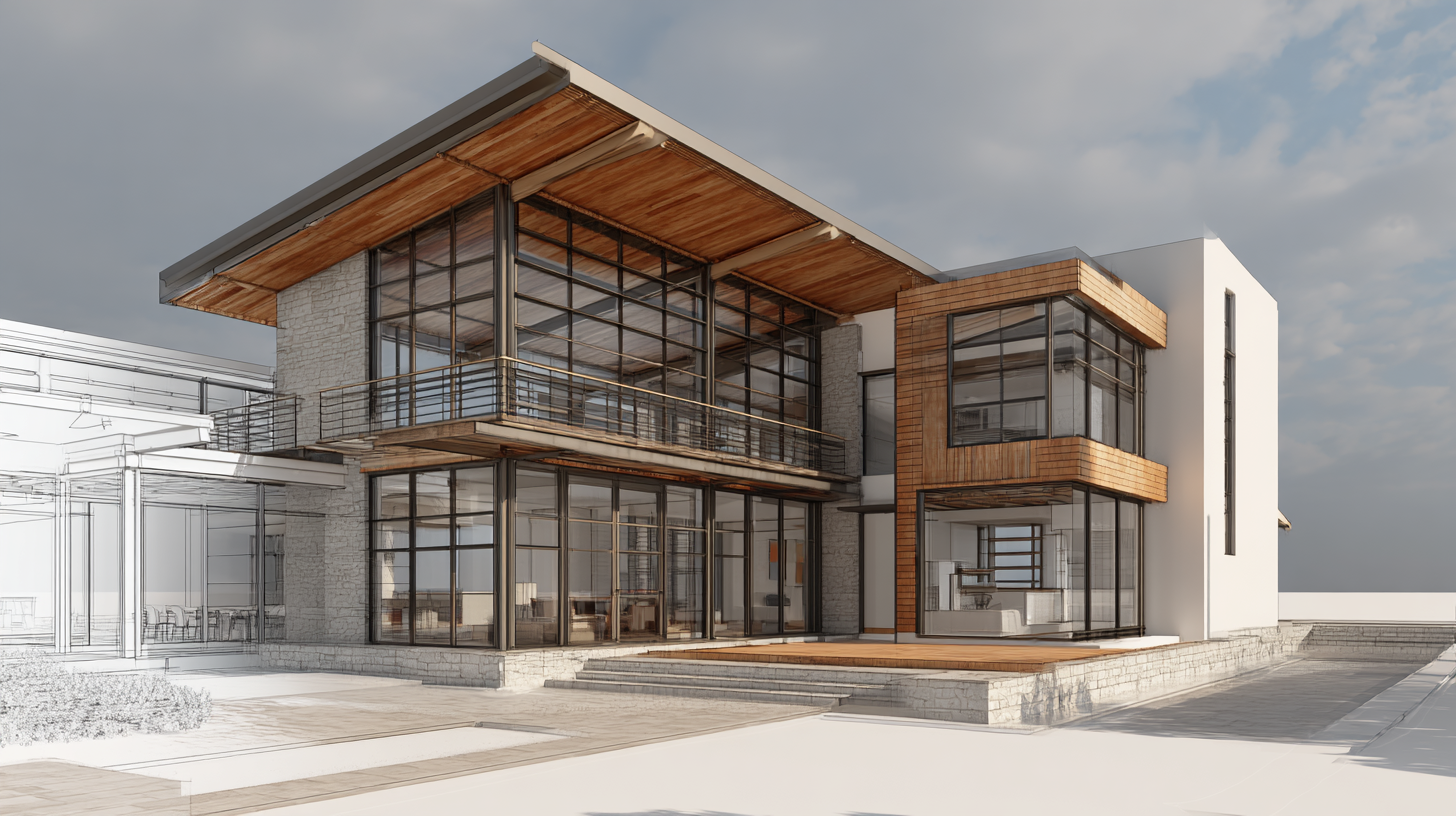
Utilizing Lighting Techniques for Stunning Renders in SketchUp
When it comes to creating stunning renders in SketchUp, mastering lighting techniques is essential. Proper lighting can dramatically enhance the mood and realism of your models. One effective approach is to utilize natural lighting by strategically placing windows and using sky light settings. This not only mimics real-world conditions but also highlights the beauty of your design. Experimenting with shadow settings can further elevate the visual impact, creating depth and dimension that brings your render to life.
Additionally, consider integrating artificial lighting to complement natural light sources. Using tools that allow you to simulate various light types—such as spotlights, ambient lights, and point lights—can create a captivating atmosphere. Adjusting the intensity and color of these lights can evoke different feelings and highlight specific areas of interest in your design. There are numerous resources available, from quick-start tutorials to specialized courses, that focus on honing your skills in lighting for SketchUp, empowering you to produce more dynamic and professional-looking renders.
Integrating Plugins to Expand SketchUp's Rendering Capabilities
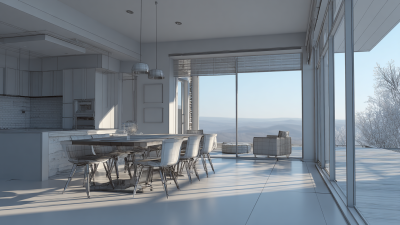
Integrating plugins into SketchUp is a powerful way to enhance its rendering capabilities, allowing users to achieve more realistic and detailed visuals. Popular plugins such as V-Ray, Lumion, and Enscape can seamlessly embed within SketchUp, providing advanced rendering features without disrupting your workflow. These tools not only offer high-quality render settings but also come equipped with extensive libraries of textures, lighting options, and pre-built models, which can save significant time and effort during the design process.
Moreover, leveraging these plugins often involves understanding their unique settings and capabilities. For instance, V-Ray allows for robust control over material properties and lighting effects, enabling designers to create dynamic scenes that mimic real-world conditions. By experimenting with different plugins, users can discover various styles and techniques that resonate with their personal or project-based aesthetic. Utilizing multiple plugins can also lead to innovative combinations of features that push the boundaries of what can be achieved in SketchUp, ultimately resulting in stunning visuals that captivate clients and audiences alike.
10 Best Tips for Using SketchUp to Render Stunning Visuals
| Tip Number |
Tip Description |
Recommended Plugin |
Use Case |
| 1 |
Utilize Layers for Better Organization |
N/A |
Organizing model elements by layers for easier rendering manipulation |
| 2 |
Optimize Geometry for Rendering |
CleanUp³ |
Improve rendering performance by cleaning up model geometry |
| 3 |
Use High-Quality Textures |
Twilight Render |
Enhancing realism in renders with realistic textures |
| 4 |
Set Proper Lighting |
LSL (Lighting Simulation Lab) |
Creating dynamic lighting scenarios to enhance visual output |
| 5 |
Render in Different Styles |
SketchUp Styles |
Experimenting with various styles to create unique visuals |
| 6 |
Adjust Render Settings for Quality |
V-Ray |
Tweak render settings for higher quality outputs |
| 7 |
Use Scenes to Capture Different Views |
N/A |
Creating scenes for multiple perspectives in presentation |
| 8 |
Consider Post-Processing |
Photoshop |
Enhancing final output with adjustments in image editing software |
| 9 |
Incorporate Vegetation and Surroundings |
SketchUPB (Plant Plugin) |
Adding realism with greenery and contextual background |
| 10 |
Learn from the Community |
N/A |
Participate in forums and tutorials for new techniques |