How to Maximize Your Workflow with Sketchup To Render Using Industry Best Practices
In the fast-paced world of design and architecture, maximizing workflow efficiency is crucial for delivering high-quality results in a timely manner. This article delves into industry best practices for using Sketchup to render stunning visualizations, helping professionals streamline their processes and enhance their creative outputs. By effectively integrating Sketchup to render within your workflow, you can reduce bottlenecks, improve collaboration, and elevate the overall presentation of your projects.

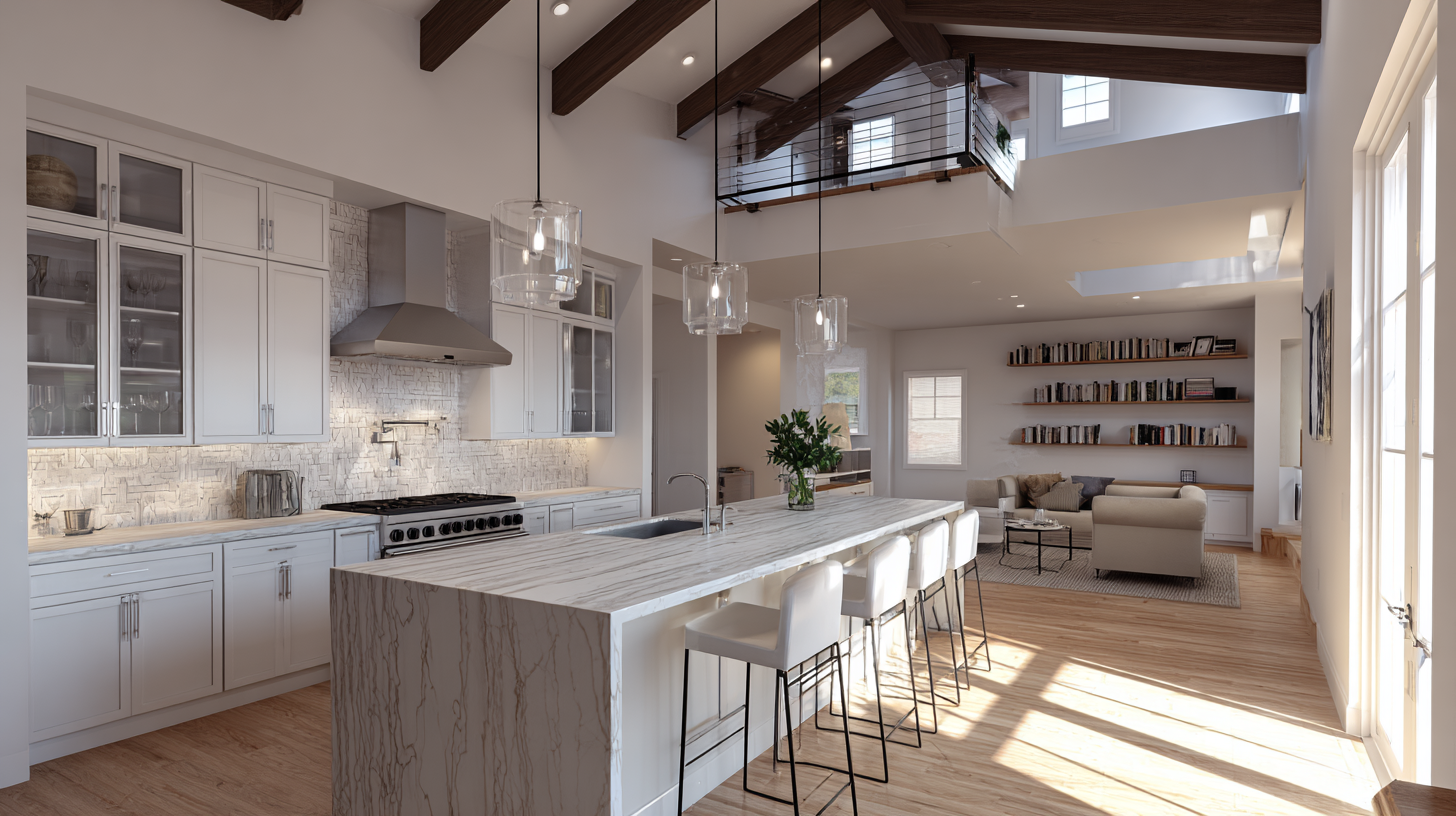
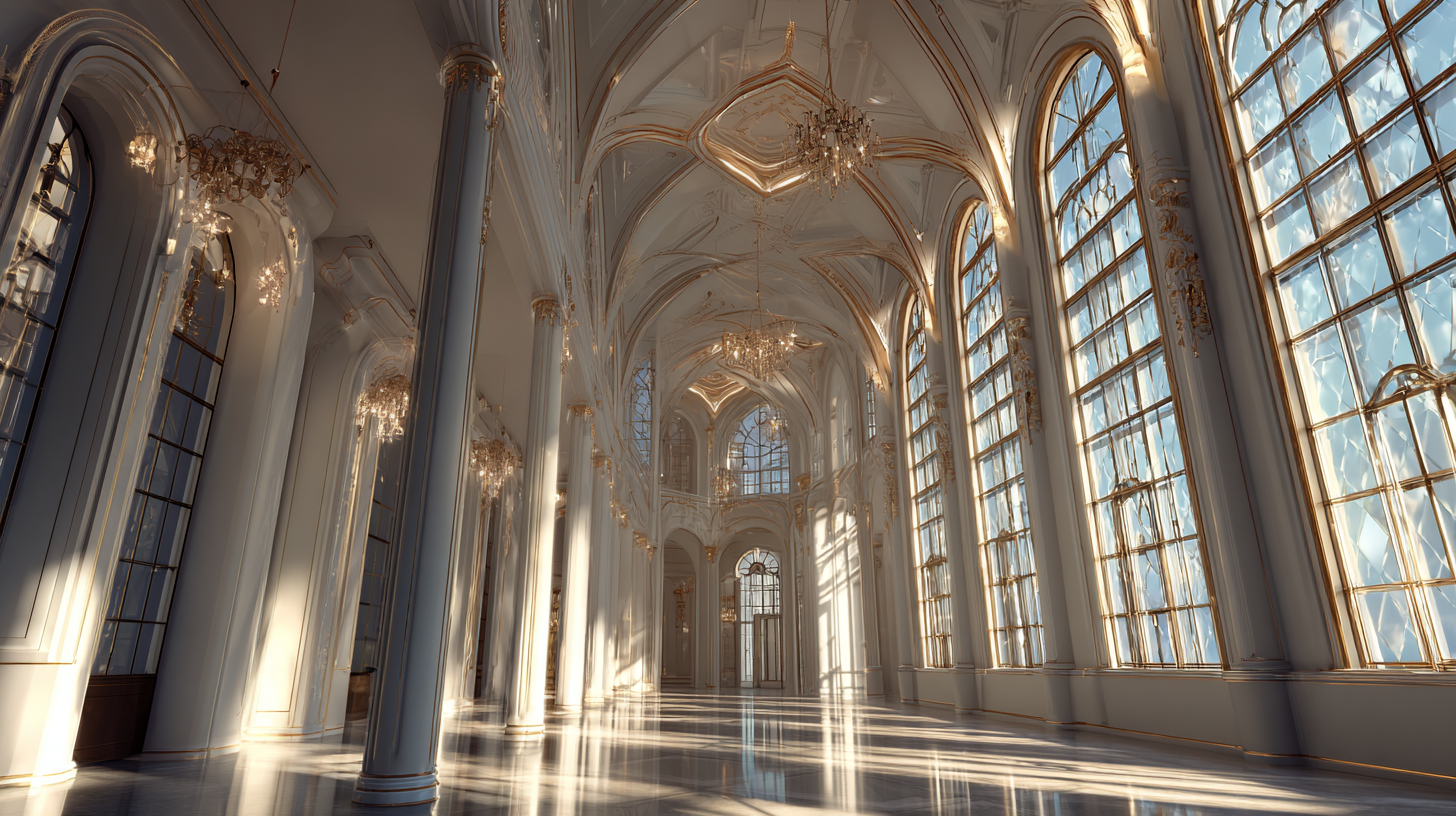
Whether you are a seasoned designer or a novice looking to refine your skills, embracing these strategies will empower you to create more dynamic and realistic renders. Join us as we explore essential tips and techniques that will revolutionize your approach to design using Sketchup and unlock your full potential in rendering captivating visuals.
Understanding the SketchUp Interface for Efficient Workflow Management
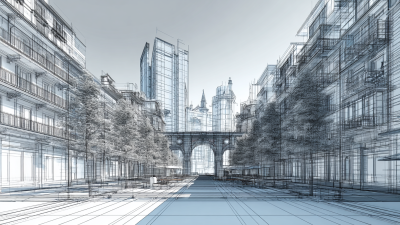
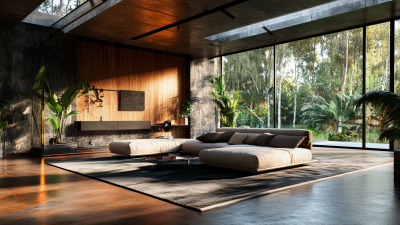
In the realm of architectural visualization, understanding the SketchUp interface is crucial for efficient workflow management. The streamlined design provides users with intuitive access to various tools, making it easier to navigate through different functionalities. This familiarity allows for faster modeling and ensures that creators can focus on their designs without getting bogged down by technicalities.
To maximize your workflow in SketchUp, it's essential to set up custom toolbars that reflect your specific needs. This personalization not only speeds up your process but also minimizes distractions from irrelevant features. Additionally, utilizing layers effectively can help organize your work, allowing you to isolate different parts of your design easily.
When it comes to rendering, ensure you consistently save your projects and employ shortcuts to accelerate repetitive tasks. This not only enhances your productivity but also reduces errors during the design process. Combining these best practices with the powerful AI features emerging in creative software can further streamline your workflow, ensuring you produce stunning visualizations efficiently.
How to Maximize Your Workflow with Sketchup To Render Using Industry Best Practices - Understanding the SketchUp Interface for Efficient Workflow Management
Task | Duration (Hours) | Tools Used | Best Practice |
---|---|---|---|
Model Creation | 5 | SketchUp | Use components and groups to manage complex models |
Texturing | 3 | SketchUp, V-Ray | Organize materials for easy access |
Lighting Setup | 4 | V-Ray | Use layers to manage lights effectively |
Rendering | 2 | V-Ray | Optimize render settings for quality |
Post-Processing | 2 | Photoshop | Use adjustment layers for non-destructive editing |
Essential SketchUp Tools for Streamlined Design and Rendering
To enhance your SketchUp workflow for design and rendering, focusing on essential tools can make all the difference. One vital tool is the Outliner, which allows users to manage complex projects efficiently by organizing model elements hierarchically. This feature enables quick access to components, making it easier to edit and manipulate objects without confusion. Furthermore, utilizing Layers can streamline the design process, allowing designers to control the visibility of different elements and organize their workspace effectively.
Another important aspect is integrating reliable rendering plugins, such as V-Ray or Enscape. These tools not only elevate the quality of visual output but also allow for real-time rendering feedback, which can significantly speed up the design process. The use of Styling Options within SketchUp also contributes to a polished final product, ensuring that textures, materials, and lighting align with the intended vision. By combining these essential tools, designers can create a more efficient workflow that balances creativity with practicality, ultimately leading to a smoother design and rendering experience.

Best Practices for Organizing Your SketchUp Projects for Maximum Efficiency
Efficiently organizing your SketchUp projects is crucial for maximizing your workflow, particularly when preparing for rendering. By implementing best practices for project organization, you can significantly streamline your design process and reduce the time spent on adjustments later. One effective approach is to adopt a structured folder system, where each project is clearly labeled and categorized by elements such as textures, components, and scenes. This not only helps in maintaining clarity but also enhances collaboration among team members, facilitating quicker access to necessary files.
Moreover, utilizing industry-leading extensions can significantly enhance your productivity within SketchUp. Reports indicate that top extensions can help streamline complex modeling tasks, allowing for a more efficient design workflow. Tools specifically designed for exporting to rendering applications can minimize the guesswork in preparing your models for visual output. For instance, mastering best practices in exporting, as highlighted in recent articles, ensures that your output is not only high-quality but also optimized for the rendering engine, thus saving both time and resources during project delivery. By integrating these practices, professionals can create a robust workflow that supports efficient project development and execution.
Leveraging Plugins and Extensions to Enhance SketchUp Functionality
Leveraging plugins and extensions can significantly enhance your SketchUp experience and streamline your workflow. By incorporating various tools, you can expand the software's capabilities and tailor it to better suit your project needs. For instance, using advanced rendering plugins like V-Ray or Enscape can elevate the visual quality of your models, allowing for stunning presentations and more realistic environments. These extensions provide a range of materials, lighting options, and customizable settings that can tremendously improve the final output.
Tip: Regularly explore and update your plugins to ensure compatibility with the latest SketchUp version. Many extensions offer new features or critical bug fixes that can enhance performance and usability.
Another valuable addition to your SketchUp toolkit is the use of organizational plugins, such as CleanUp3 or SketchUp's built-in Tags feature. These tools help keep your models organized, especially in complex projects, ensuring that your workflow remains efficient and manageable. When your workspace is well-structured, it becomes easier to focus on creativity rather than getting bogged down by inconsistencies or disorganization.
Tip: Invest time in learning shortcut keys and settings specific to your plugins. Familiarity with these features will save time during your design process and allow for a smoother workflow.
Tips for Optimizing Render Settings in SketchUp for Professional Results
When it comes to rendering architectural designs in SketchUp, optimizing your render settings is crucial for achieving professional results. To start, ensure that you use high-quality textures and materials. This not only enhances the visual appeal but also enables light to interact more realistically with surfaces. Additionally, adjusting the shadow settings can significantly improve the depth and realism of your renders. Using ambient occlusion adds subtle shading, further enriching the overall look.
Another tip is to take advantage of the rendering engine settings. Tweaking parameters such as anti-aliasing can lead to sharper images, while adjusting the reflection and refraction settings can result in more realistic glass and water effects. For those familiar with V-Ray, implementing its advanced features like light baking can help streamline the rendering process, yielding high-quality outputs without taxing your system.
Don’t underestimate the power of post-processing as well. After rendering, using photo-editing software can help you refine the final image. Enhancing contrast, color grading, and adding effects like lens flares can elevate your work to meet industry standards. Combining these tips will allow you to maximize your workflow and produce stunning renderings with SketchUp.
Related Posts
-
Innovative Sketchup To Render Examples Transforming Architectural Visualization Strategies
-
Exploring Top Alternatives to Sketchup To Render for Enhanced 3D Visualization
-
Solutions for Seamless Rendering: Elevating Your SketchUp Projects with Industry-Leading Techniques
-
Top Strategies for Achieving the Best Render Quality in Sketchup
-
Top 5 Essential Tips for Achieving the Best AI 3D Rendering in Your Projects
-
How to Choose the Right Manufacturer for Best Exterior Rendering Solutions