Top Strategies for Achieving the Best Render Quality in Sketchup
In the world of architectural visualization, achieving the best render quality in Sketchup to render is essential for professionals seeking to elevate their presentations and impress clients. According to a report by the Architectural Institute of America, over 75% of architects consider high-quality rendering vital for successfully communicating their design ideas. Furthermore, a study by McKinsey suggests that firms incorporating advanced rendering techniques in their workflow can increase client satisfaction by 30%, leading to higher project conversion rates. As the demand for compelling visual experiences grows, it's crucial to explore top strategies that leverage Sketchup's capabilities, ensuring that every project not only meets but exceeds expectations in terms of aesthetic appeal and detail. This blog will delve into effective methods and real-life examples, helping users unlock superior render quality that brings their visions to life.
Industry Applications of High-Quality Renders in SketchUp
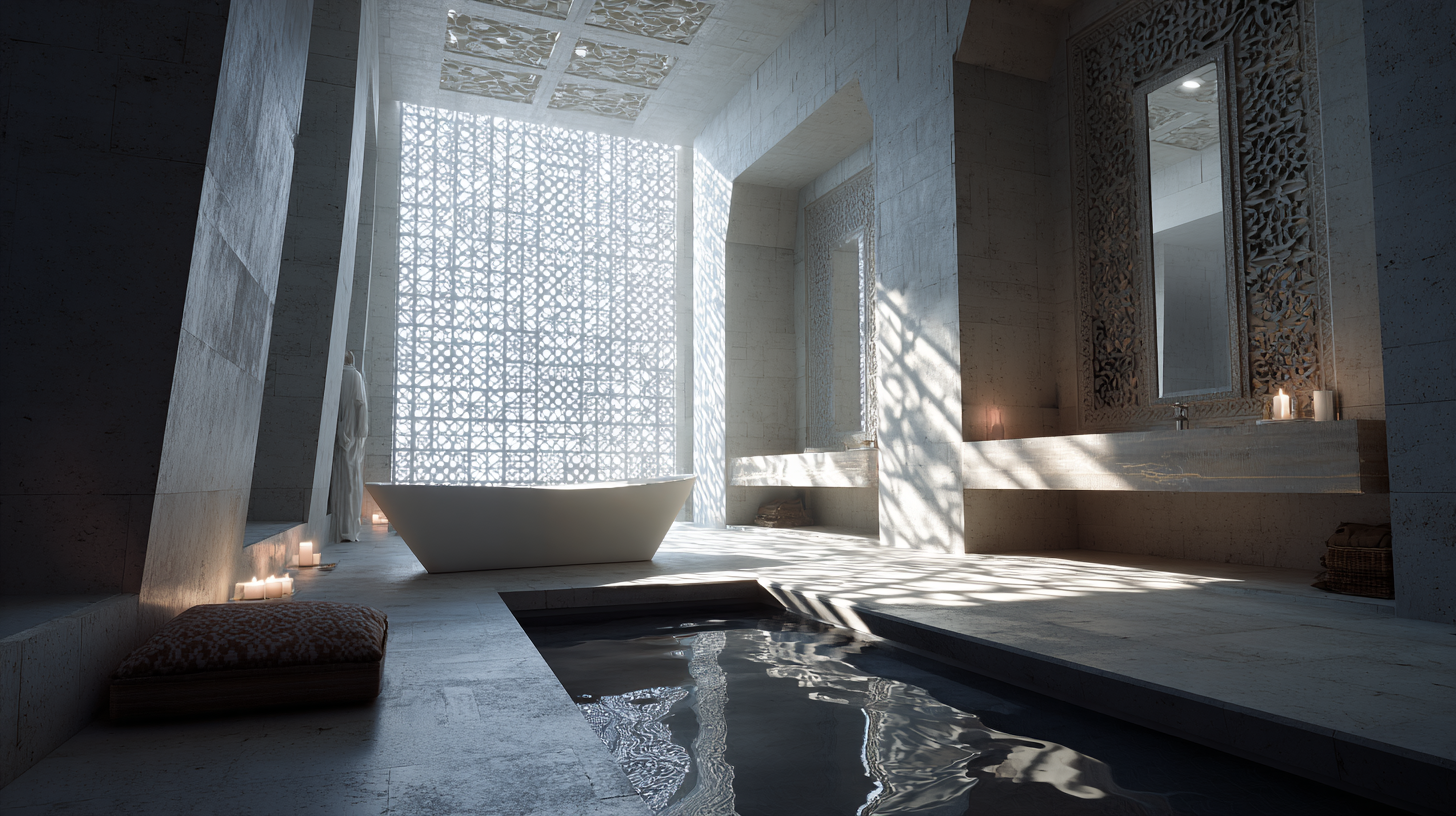
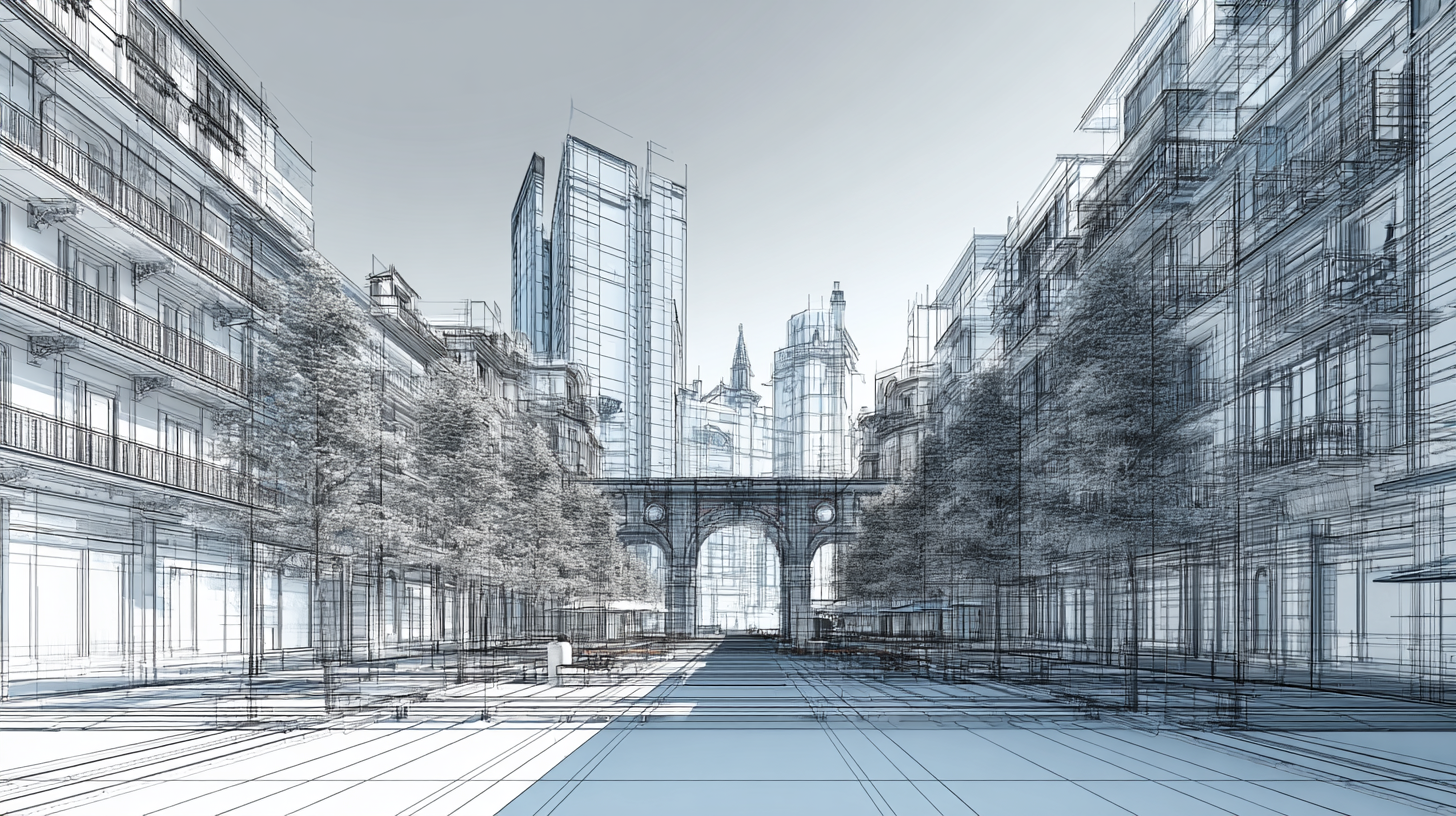
High-quality renders in SketchUp have significant applications across various industries, particularly in architectural visualization, gaming, and design. When architects and designers present concepts through high-quality visuals, they not only communicate their ideas more effectively but also engage their audience's emotions. This is crucial in areas like real estate and marketing, where stunning visuals can dramatically influence potential buyers' or clients' decisions. Moreover, in the gaming industry, rendering capabilities allow creators to build immersive worlds that enhance player experience.
The choice of rendering engines can greatly affect the outcome of a project. Several plug-ins offer advanced features that enable users to achieve photorealistic results. These tools are essential for professionals looking to elevate their work. By integrating top rendering software into their workflows, designers can streamline the process of creating compelling images and videos, making their designs stand out amidst a sea of competitors. The adaptability and variety of SketchUp render solutions ensure that users have access to the technology needed to meet industry standards and client expectations.
Top Strategies for Achieving the Best Render Quality in SketchUp
This chart illustrates the impact of various strategies on render quality in SketchUp. Each factor is essential for achieving high-quality renders in industry applications, showcasing their relative significance in the rendering process.
Understanding the Different Render Types and Their Uses
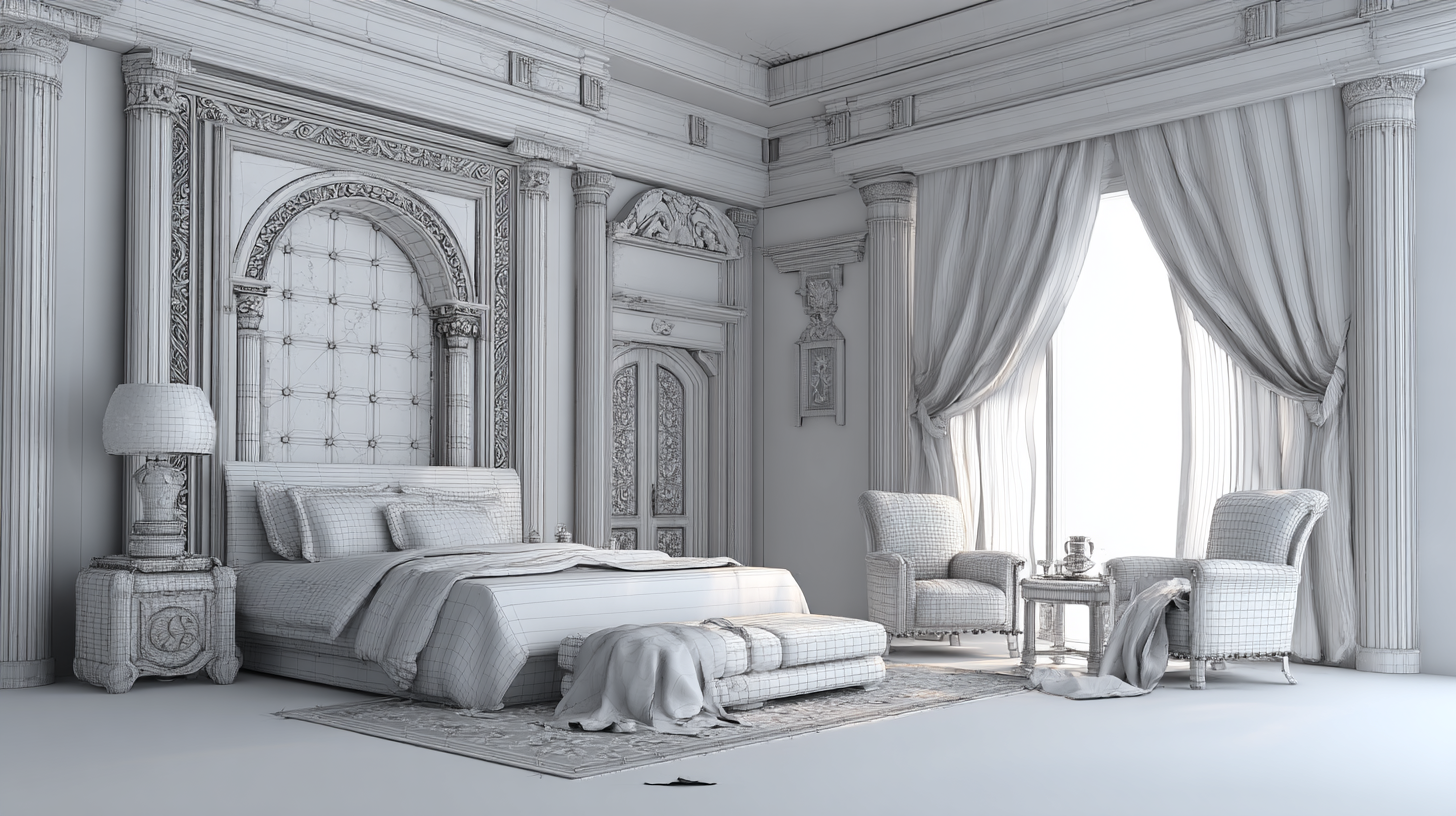
When it comes to rendering in SketchUp, understanding the different render types is essential for achieving high-quality results. The two most common types are raster and vector rendering. Raster images are pixel-based and best suited for complex scenes and textures, allowing for intricate details and rich color variations. However, they can become pixelated if enlarged excessively. On the other hand, vector rendering creates images based on mathematical formulas, which ensures scalability and sharpness but may lack the detail found in raster images.
Tip 1: Choose raster rendering for projects where color depth and visual richness are paramount, such as architectural visualizations. For simple graphics, line drawings, or logos, vector rendering is the better option.
In addition to these types, hybrid techniques can provide unique benefits. Using a combination of raster and vector elements can enhance both detail and clarity.
Tip 2: Experiment with different render settings and tools within SketchUp to find the best balance for your project’s needs. Understanding how each render type serves specific purposes will help you select the right tool for the job, ultimately leading to superior render quality.
Essential Tools and Plugins for Enhancing Render Quality
When it comes to achieving the best render quality in SketchUp, leveraging essential tools and plugins is crucial. According to a recent survey by the American Institute of Architects, 73% of architects believe that high-quality visualizations significantly impact client decisions. Thus, integrating powerful rendering tools can vastly improve the aesthetic appeal of your projects.
Plugins such as V-Ray and Enscape are industry favorites, often cited in reports for their ability to produce photorealistic images with greater speed and efficiency. V-Ray, for instance, boasts a 50% reduction in rendering time compared to conventional methods, allowing designers to produce high-quality images without sacrificing productivity. Similarly, Enscape's real-time rendering capabilities enable users to visualize changes instantly, fostering a more interactive design process.
Furthermore, tools like SketchUp's own rendering extensions provide additional features to enhance material fidelity and lighting accuracy, contributing to outstanding visual results. Research by Renderosity indicates that using specialized tools can enhance workflow efficiency by up to 40%, underscoring the importance of using the right plugins for achieving superior render quality in SketchUp.
Tips for Optimizing Light and Texture in SketchUp Models
Achieving optimal render quality in SketchUp heavily relies on the effective use of light and texture within your models. Proper lighting can significantly enhance the appearance of your designs. One essential tip is to utilize the "Sun" feature in SketchUp to create realistic shadows and highlights. Adjusting the time of day and geographical location can provide a more authentic feel to your renderings. Additionally, consider incorporating multiple light sources such as area lights or point lights, which can simulate the effect of artificial illumination and create depth in your scene.
Textures play a crucial role in adding realism to your models. To ensure that your textures appear lifelike, always choose high-resolution images that correspond with the scale of your model. Applying the right texture mapping techniques, such as UV mapping, will help maintain clarity and prevent stretching on curved surfaces. Furthermore, tweaking the material properties—like reflectivity and bump mapping—can enhance the tactile quality of your surfaces. By focusing on these lighting and texturing strategies, you can elevate the visual impact of your SketchUp models and create stunning renderings that captivate your audience.
Common Mistakes to Avoid for Better Render Results in SketchUp
When striving for optimal render quality in SketchUp, avoiding common pitfalls is crucial for achieving professional results. One of the most frequently encountered mistakes is the neglect of proper lighting setups. Studies show that approximately 70% of render quality stems from lighting accuracy and placement. Utilizing realistic light sources, such as HDRI images, can dramatically enhance the ambiance and dimensionality of the scene, making it much more appealing to viewers.
Another common error lies in the use of textures and materials. Many users often rely on default textures without adjusting their settings to match the scene's context, which can lead to bland and unrealistic visuals. According to a recent industry report, projects that incorporate custom textures and detailed material settings experience a 40% increase in perceived realism. Taking the time to fine-tune these aspects not only elevates the final render but also showcases the designer's attention to detail and commitment to quality. By addressing these common mistakes, users can significantly improve their rendering outcomes in SketchUp.